...
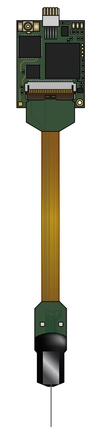
Phase 3a | Neuropixels 1.0 | |||
|---|---|---|---|---|
| Manufactured between | 2016-2018 |
| 2018-present | |
| Sold to | Neuropixels consortium | General public | ||
| Site layout | checkerboard | checkerboard or linear | ||
| Shank length | 5 mm (options 1 & 2); 10 mm (options 3 & 4) | 10 mm | ||
| Site count | 384-960 | 960 | ||
| References | 1 external, 10-30 internal | 1 external, 1 tip, 3 internal | ||
| Cable | Dual coax (white) | Single twisted pair (black and yellow) | ||
| Acquisition system | Ethernet (based on KC705 eval board) | PXIe | ||
| Max probes per computer | 3 | 16 | ||
| Compatible software | SpikeGLX, Open Ephys GUI | SpikeGLX, Open Ephys GUI | ||
| Open Ephys plugin | Neuropix-3a | Neuropix-PXI | ||
Combining Neuropixels with the Open Ephys GUI
Both the Neuropixels 3a and PXI plugins are included by default in the Windows version of the GUI (download .zip file).
Once you've unzipped the directory, you can run the application by launching open-ephys.exe. The executable must remain in this directory in order to access the associated DLL files, but you can create a link that resides elsewhere.
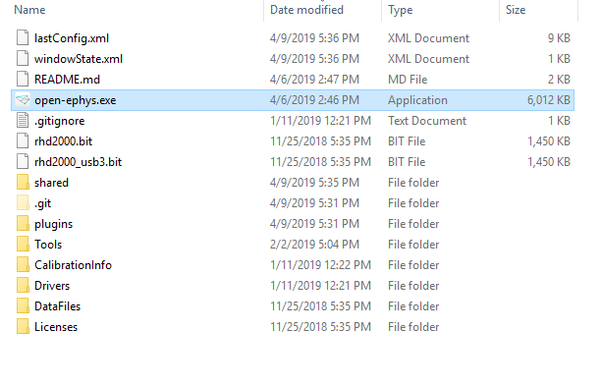
Note: If the GUI won't start because of missing DLLs, you'll need to install the Visual Studio Redistributable Package.
Once you launch Open Ephys, you can connect to your probe(s) by dragging and dropping the appropriate plugin onto the signal chain. If you're using the "Neuropixels 1.0" probes with a PXIe data acquisition system, use the Neuropix-PXI plugin. If you're using "Neuropixels 3a" probes, use the Neuropix-3a plugin.
For more information on how to use the Open Ephys GUI, please check out this tutorial.